What is Minikube?
Minikube is a utility you can use to run Kubernetes (k8s) on your local machine. It creates a single node cluster contained in a virtual machine (VM). This cluster lets you demo Kubernetes operations without requiring the time and resource-consuming installation of full-blown K8s.
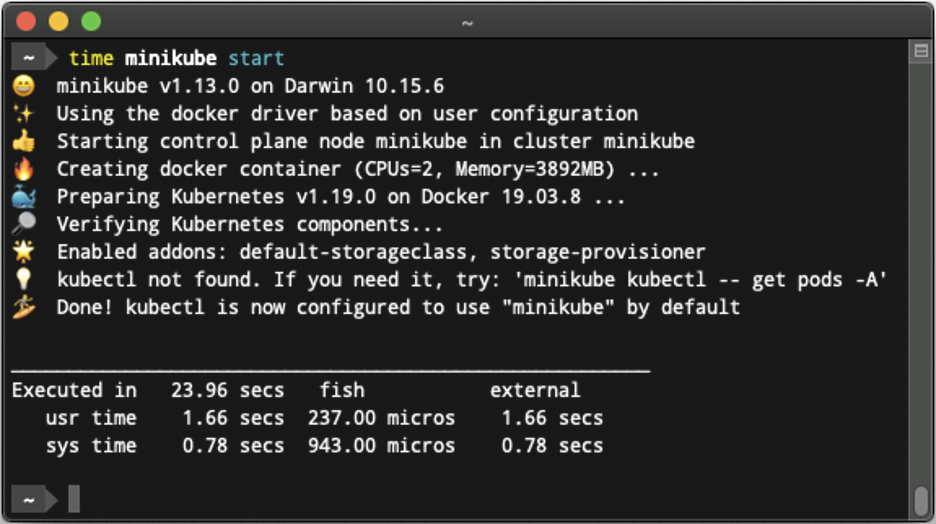 A screenshot of the Minikube interface. 💯 emoji use.
This flexibility enables you to try out Kubernetes deployments, perform development tasks, or test configurations easily. Minikube is especially useful for those new to k8s since it enables you to gain familiarity with basic concepts.
In this article, you will learn:
- What is Minikube?
- Kubernetes Concepts
- How to Install Minikube
- Install kubectl
- Install a Hypervisor
- Install Minikube
- Confirm Installation
- Minikube Dashboard
- Minikube Tips
- Minikube with Sensu
Kubernetes Concepts
To help you get started with Minikube, it helps to understand some basic k8s concepts. Below are the most basic aspects you should know:
- Deployment—configured and operational resources. Deployments are the overall processes that enable you to orchestrate your resources.
- ReplicaSet—sets of pods that provide the resources for your services.
- Pod—a unit that contains one or more containers along with attached storage resources, and configuration definitions. Pods are grouped together in ReplicaSets and all pods in a set run the same container images.
- Node cluster—control plane and worker nodes that each contain one or more pods. The workers run your workloads and the control plane orchestrates the workers together. This is what is created by Minikube.
- Node processes—the various components that you use to connect and manage Kubernetes. Control plane processes include API servers, ectd, Scheduler, kube-controller-manager, and cloud-controller-manager. Worker processes include kubelet, kube-proxy, and your container runtime.
- Container—the image you create to hold your applications.
How to Install Minikube
The following tutorial shows how to install Minikube on a Linux machine. It is adapted from the k8s documentation here, where you can find more detailed instructions for Linux, macOS, and Windows.
1. Verify that virtualization is supported
To check this, use the following command:
grep -E --color 'vmx|svm' /proc/cpuinfo
You should see a non-empty output.
2. Install Kubectl
Kubectl is Kubernetes’ command line tool which you need to interact with your cluster. To download the latest release, you can use the following command:
curl -LO "https://storage.googleapis.com/kubernetes-release/release/$(curl -s
https://storage.googleapis.com/kubernetes-release/release/stable.txt)/bin/linux/amd64/kubectl"
Make your binary executable:
chmod +x ./kubectl
Move it to your executable path. For example if /usr/local/bin/ is in your executable path:
sudo mv ./kubectl /usr/local/bin/kubectl
3. Install a hypervisor
If you need to install a hypervisor, you should consider either KVM or VirtualBox. Alternatively, you can choose to run Minikube on the host with --driver=none and Docker.
4. Install Minikube
There are three ways you can install Minikube, via a package, direct download, or with Homebrew. If you want to use a package, you can use your built-in package tool to find the right option.
If you want to install via direct download, use the following command:
curl -Lo minikube https://storage.googleapis.com/minikube/releases/latest/minikube-linux-amd64 \
&& chmod +x minikube
Or if you want to use Homebrew, this command:
brew install minikube
5. Confirm installation
After your installation of the hypervisor and Minikube are complete you can start your local cluster. In this command, you need to replace <driver_name> with the hypervisor you’re using.
minikube start --driver=<driver_name>
After the cluster is started, you can verify its status.
minikube status
Minikube dashboard
Dashboard is Kubernetes’ web-based UI that you can use to manage clusters and deploy applications. It can provide an overview of your cluster operations and make it easier to modify any resources you have running. You can also use it to monitor the state of your cluster resources or to investigate errors.
The following command enables the dashboard add-on and opens a proxy for you:
minikube dashboard
Minikube tips
Once you have Minikube up and running, the following tips can help you get the most from your environment.
Sharing your Docker daemon
A Docker daemon is included with Minikube. This is the same daemon you use for Docker only deployments and can be shared between Minikube and Docker. If you share, you can speed up your local tests and make any Docker builds you create available to Minikube.
To share the daemon, use the following command:
$ eval $(minikube docker-env)
$ docker ps
The eval command above will set several docker related environment variables, instructing the docker client to use the docker service running inside the minikube VM. To transition back to using the host’s docker service, you’ll need to unset several docker variables in your environment, or open up a fresh terminal session.
Using addons
Addons are extensions of Minikube that you can enable or disable to provide access to advanced features. Addons can enable features like the dashboard, registry credentials, or ingress. You can use addons that are already available or you can customize addons by modifying the associated YAML file.
To see what addons are available and if they are enabled, use the following:
minikube addons list [flags]
To enable or disable addons, use the following and make sure to substitute the action you want to take (enable or disable):
minikube addons <action> ADDON_NAME [flags]
Gaining access to host files
If you want to make files on your host system available to containers running inside Minikube, you have a couple of options. First you can use Minikube’s mount command, which uses a 9P filesystem implementation under the covers to expose host files to the Minikube VM.
minikube mount $HOME:/host
The Minikube 9P mounts have some performance impacts compared to hypervisor native mounts and work best for directories with just a few files.
As an alternative, some hypervisors automatically mount a host system directory and make it available for use inside the Minikube virtual machine. These special mount points provide superior performance to the user-definable Minikube 9P mount points so are a good option if you need to expose a large collection of files to the containers you are testing inside Minikube. Unfortunately, the hypervisor guest mount points differ depending on the host system OS and hypervisor you are using. For example, Virtualbox will automatically mount /home to /hosthome in the minikube VM on a Linux host but on OSX host will mount /Users to /Users.
Minikube with Sensu
Now that you have the basics of Minikube sorted out you can take the Sensu Kubernetes quickstart repository for a spin and set up your own Sensu cluster running as a set of containers in your minikube environment. When preparing to Minikube for use with the quick start guide, make sure you allocate enough memory and CPU resources before starting Minikube for the first time. For example:
minikube config set memory 6144
minikube config set cpus 4
This will provision the Minikube virtual machine with 6 Gigabytes of memory, and will have access to 4 cpu cores.
The quickstart repository is all you need to deploy a Sensu Go cluster and an example application (NGINX) into Kubernetes. It also includes configuration to reuse Nagios-style monitoring checks to monitor the example application using Sensu Go (including a Sensu sidecar in the example application deployment).
To gain access to the Sensu cluster running from inside Minikube from your host machine, you just need to make use of the Minikube client utility to determine the correct proxy address for each Sensu service using the minikube service command. Here’s an example:
minikube service --namespace sensu-system list

|  NAMESPACE  |  NAME     | TARGET PORT          | URL

| sensu-system| sensu-lb  | sensu-api/8080       | http://192.168.99.108:31799
                          | sensu-webui/80   	 | http://192.168.99.108:30364
                          | sensu-webui/80       | http://192.168.99.108:30364
In this example, we see that the sensu-api service running inside the Minikube vm is exposed to the host machine at http://192.168.99.108:31799. The sensuctl utility running on the host machine can be pointed to this url. The Sensu web UI service is similarly available to the host machine at http://192.168.99.108:30364.
Resources + FAQ
We hope this guide gave you a sense of what you can do with Minikube. In this section, we’ve included a few resources for further learning as well as frequently asked questions.
Resources
- The Sensu Kubernetes quickstart repository
- [Blog post] How Kubernetes works
- [Whitepaper] The top 7 Kubernetes APIs for cloud-native observability
FAQs
Does Minikube require Docker?
A Docker daemon is included with Minikube, so you don’t need to install it separately.
How long does Minikube take to start?
Once you have all the pieces in place, it should only take a few minutes for Minikube to start, the first time. Most of the time is taken downloading the necessary images for correct operation.
What OS does Minikube use?
Minikube enables you to run Kubernetes on your local machine making use of a virtualization manager. Minikube runs on Linux, MacOS, and Windows operating systems, selecting a virtualization manager appropriate for each operating system. You may be required to install a virtualization manager, if you do not have one already installed.
Is Minikube production ready?
It’s not advisable to use Minikube for production environments. It (currently) only runs as a single node on your local machine, and as such is designed for learning how Kubernetes works.
Ready discuss and share all things Kubernetes? Join our K8s Special Interest Group (SIG), below!

Related Posts

Filling gaps in Kubernetes observability with the Sensu Kubernetes Events integration
Learn more about the Kubernetes Observability Events API - why it matters and how it can add context for your observability strategy.

How Kubernetes works
This post walks you through how Kubernetes works, breaking down the individual components to illustrate how K8s helps you manage the lifecycle of containerized applications.

Kubernetes 101
Kubernetes is a production-grade platform as a service for running workloads in containers. Read on to learn the basics of Kubernetes.

Made with #monitoringlove by SensuTM in Canada 🇨🇦 and the USA 🇺🇸. © 2017-2021 – Privacy Statement – Terms & Conditions